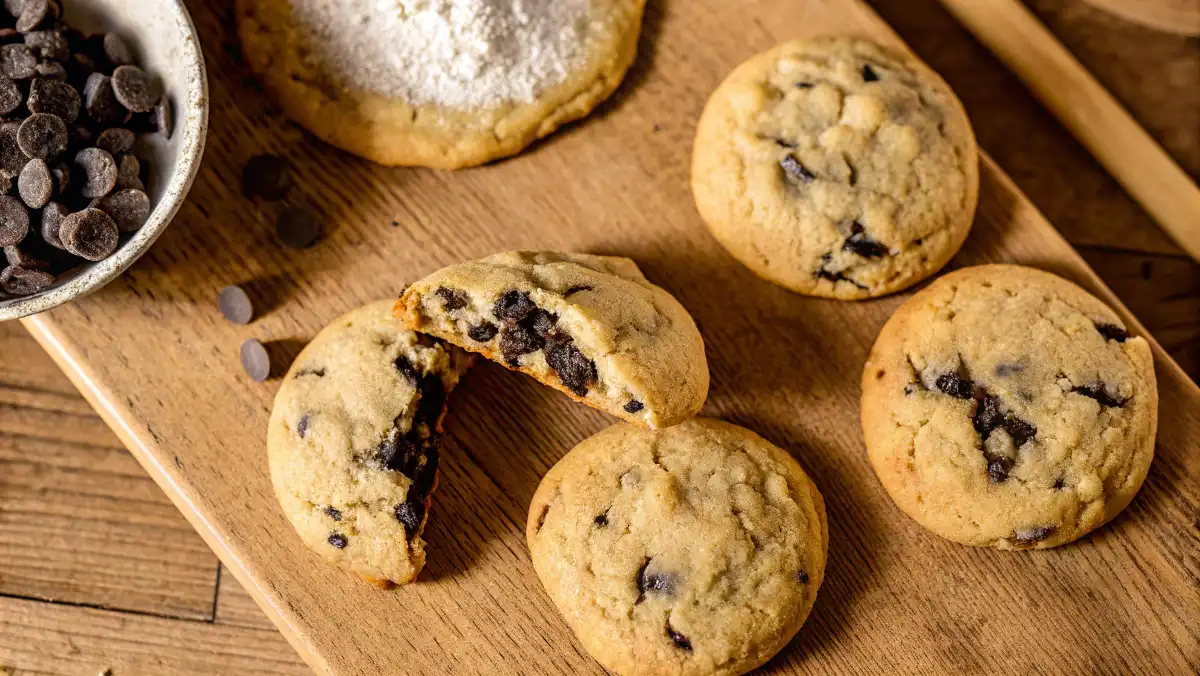
Gluten and Dairy Free Cookies: 5 Secrets for Perfect Results
Baking with Heart: How Gluten and Dairy Free Cookies Changed My Life
Discovering the world of gluten and dairy free baking wasn’t just a culinary adventure for me it was a revelation. What began as a necessity quickly blossomed into a passionate exploration of flavors, textures, and techniques that transformed my understanding of what cookies could be.
The first time I successfully baked a batch of cookies without gluten or dairy, I watched as friends reached for seconds and thirds, completely unaware they were enjoying an allergen-friendly treat. That moment of shared delight when dietary restrictions no longer meant exclusion from one of life’s simple pleasures sparked something profound in me.
Today, I’m sharing everything I’ve learned about creating exceptional gluten and dairy free cookies that never feel like a compromise. These treats aren’t just “good for being allergen-free” they’re outstanding cookies by any standard, worthy of centerpiece status at gatherings where everyone, regardless of dietary needs, can indulge together.
Table of Contents
Why Gluten and Dairy Free Cookies Matter
The Rise of Allergy-Friendly Baking
We’re experiencing a fundamental shift in how we approach food and inclusion. With approximately 1 in 133 Americans living with celiac disease and an estimated 65% of households now reducing or eliminating gluten or dairy consumption, allergen-friendly baking has evolved from niche to necessity.
This isn’t merely about accommodating restrictions it’s about reimagining baking entirely. Whether you’re addressing medical diagnoses, exploring plant-based eating, or simply curious about alternative ingredients, mastering gluten and dairy free cookies opens doors to creativity and connection.
Key Ingredients for Success
The foundation of exceptional allergen-free baking lies in understanding how alternative ingredients function:
Gluten-Free Flour Alternatives vs. Traditional Flour:
| Flour Type | Properties | Best For |
| Almond Flour | Moisture-retaining, protein-rich, subtle nuttiness | Tender shortbreads, chewy cookies |
| Oat Flour | Naturally sweet, hearty texture, high fiber | Rustic cookies, breakfast treats |
| Coconut Flour | Extremely absorbent, naturally sweet | Small-batch recipes, paired with other flours |
| Rice Flour | Light texture, neutral flavor, crisp finish | Snapping cookies, delicate textures |
| 1:1 GF Blend | Pre-balanced starches and binders | Adapting traditional recipes |
Dairy-Free Swaps:
| Traditional | Dairy-Free Alternative | Baking Notes |
| Butter | Plant-based butter sticks | Better for savory applications, alter texture |
| Butter | Refined coconut oil | Firmer texture may need a reduced quantity |
| Butter | Olive or avocado oil | Better for savory applications, alter the texture |
| Milk | Oat milk | Creamy texture, neutral flavor |
| Milk | Almond milk | Thinner consistency, slight nuttiness |
| Buttermilk | Non-dairy milk + 1 tsp vinegar | Allow to curdle before using |
Mastering Gluten and Dairy Free Cookie Recipes
The Classic: Gluten and Dairy Free Chocolate Chip Cookies
Everyone deserves to experience the joy of breaking into a perfectly balanced chocolate chip cookie—crisp edges giving way to a chewy center studded with melty chocolate morsels:
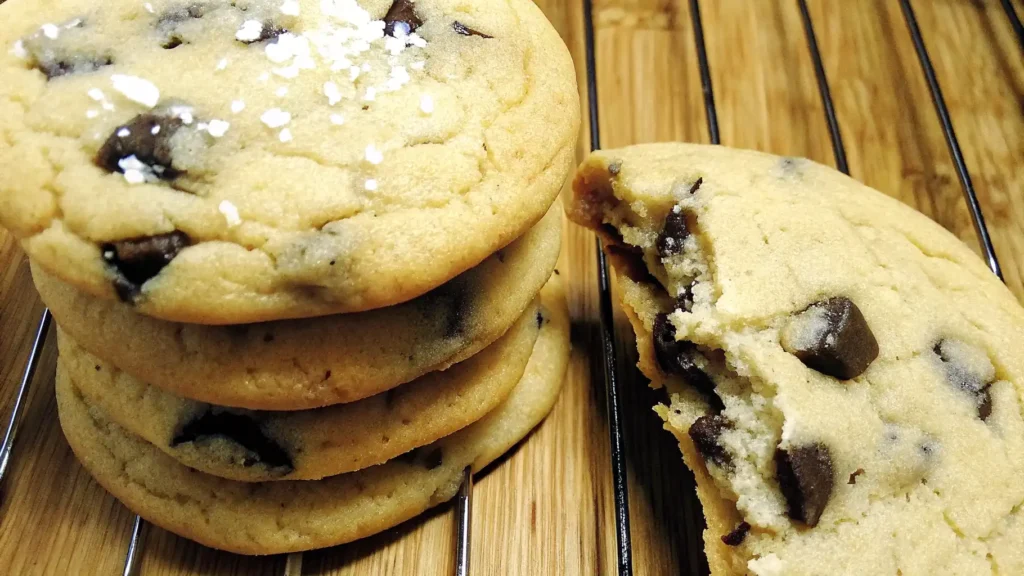
Recipe:
| Ingredients | Quantity |
| High-quality gluten-free flour blend | 2¼ cups |
| Xanthan gum (if not in your blend) | ½ tsp |
| Baking soda | 1 tsp |
| Fine sea salt | ¾ tsp |
| Virgin coconut oil (solid state) | ⅔ cup |
| Vegan butter alternative | 2 Tbsp |
| Light brown sugar (packed) | 1 cup |
| Granulated sugar | ½ cup |
| Large eggs (room temperature) | 2 |
| Vanilla extract | 2 tsp |
| Dairy-free dark chocolate chunks | 1¼ cups |
| Flaky sea salt (optional) | For topping |
Method:
- Whisk together flour blend, xanthan gum (if using), baking soda, and salt in a medium bowl.
- In a stand mixer, cream coconut oil, vegan butter, and both sugars until light and fluffy (3-4 minutes).
- Beat in eggs one at a time, then vanilla, scraping the bowl as needed.
- Gradually incorporate dry ingredients on low speed until just combined.
- Fold in chocolate chunks by hand.
- Cover and refrigerate the dough for at least 2 hours (preferably overnight).
- Preheat oven to 350°F and line baking sheets with parchment.
- Scoop 2 tablespoon portions, and place 2 inches apart.
- Bake 10-12 minutes until edges are golden but centers remain soft.
- If desired, sprinkle immediately with flaky salt.
- Cool on sheets for 5 minutes before transferring to racks.
Key Insight: The combination of coconut oil and a small amount of vegan butter creates the perfect fat balance for structure and flavor without dairy.
Nutritional Info (per cookie): 165 calories, 7g fat, 24g carbs, 2g protein, 0mg cholesterol
Delicate & Festive: Gluten and Dairy Free Sugar Cookies
These roll-and-cut cookies maintain their shapes beautifully while offering a tender crumb that’s perfect for decorating:
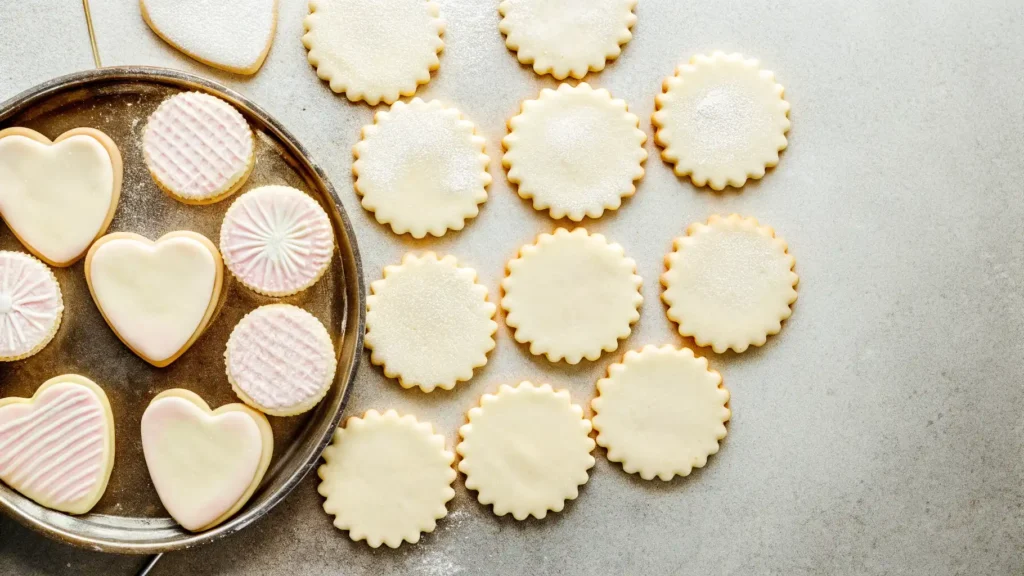
Recipe:
| Ingredients | Quantity |
| Super-fine blanched almond flour | 1½ cups |
| Tapioca starch | 1 cup |
| Potato starch | ¼ cup |
| Baking powder (aluminum-free) | ½ tsp |
| Fine sea salt | ¼ tsp |
| Plant-based butter sticks (cold) | ¾ cup |
| Organic powdered sugar | 1 cup |
| Egg whites (room temperature) | 2 large |
| Vanilla bean paste | 1 tsp |
| Almond extract | ¼ tsp |
| Lemon zest (optional) | 1 tsp |
Method:
- In a food processor, pulse together flour, starches, baking powder, and salt.
- Cut cold plant butter into small cubes, and add to the processor.
- Pulse until the mixture resembles a coarse meal with pea-sized butter pieces.
- Add powdered sugar, and pulse briefly to combine.
- In a small bowl, whisk egg whites with extracts and zest (if using).
- Add wet ingredients to the processor, and pulse just until dough forms.
- Divide dough in half, form into discs, wrap tightly, and refrigerate for 3 hours or overnight.
- Preheat oven to 325°F.
- Working with one disc at a time, roll between parchment to ¼-inch thickness.
- Cut desired shapes, and freeze for 10 minutes before baking.
- Bake 10-12 minutes until set but not browned.
- Cool completely before decorating with dairy-free royal icing.
Pro Tip: The freezing step before baking is non-negotiable—it prevents spreading and ensures crisp edges.
Easy Snacking: Gluten Free and Dairy Free Cookie Dough
Safe to eat and infinitely customizable, this eggless cookie dough satisfies cravings instantly:
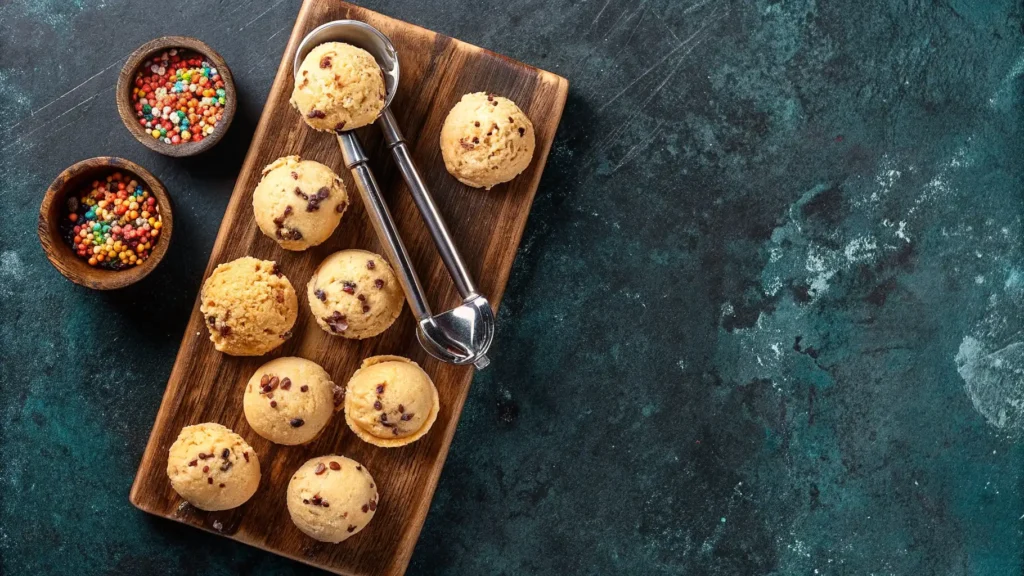
Recipe:
| Ingredients | Quantity |
| Heat-treated gluten-free flour blend | 1⅓ cups |
| Almond flour | ¼ cup |
| Refined coconut oil (softened) | ½ cup |
| Light brown sugar | ⅓ cup |
| Pure maple syrup | 2 Tbsp |
| Vanilla extract | 1½ tsp |
| Oat milk | 3-4 Tbsp |
| Fine sea salt | ¼ tsp |
| Mini dairy-free chocolate chips | ½ cup |
| Rainbow sprinkles (gluten-free) | 2 Tbsp |
Method:
- Heat-treat flour for safety: Spread flour blend on a baking sheet, and bake at 350°F for 5-7 minutes until reaches 165°F internal temperature. Cool completely.
- Cream coconut oil, brown sugar, and maple syrup until light and fluffy.
- Beat in vanilla and salt.
- Gradually mix in heat-treated flour blend and almond flour.
- Add oat milk 1 tablespoon at a time until the desired consistency is reached.
- Fold in chocolate chips and sprinkles.
- Store in an airtight container for up to 5 days in the refrigerator.
Perfect For: Movie nights, kids’ parties, or anytime you need an instant cookie fix without baking!
Pro Tips for Perfect Gluten and Dairy Free Cookies
Troubleshooting Common Issues
Master these solutions to transform potential disappointments into triumphs:
| Challenge | Solution | Scientific Reason |
| Cookies spread too much | Cool on pan for 5 minutes before moving; add ¼ tsp psyllium husk | Solidifies fats; prevents excess heat transfer |
| Crumbly, dry texture | Add 1-2 Tbsp applesauce per batch; don’t overbake | Rest dough 30+ minutes before baking; use superfine-ground flour |
| Sandy, gritty feel | Chill dough for at least 1 hour; use parchment not silicone | Allows starches to fully hydrate |
| Cookies don’t brown | Brush tops lightly with maple syrup before baking | Introduces sugars that caramelize readily |
| Fall apart when lifted | Cool on pan 5 minutes before moving; add ¼ tsp psyllium husk | Allows structure to set; improves binding |
Equipment Essentials
The right tools make all the difference in allergen-free baking:
- Digital kitchen scale: Precision matters more with gluten-free flours (different weights per cup)
- Silicone spatulas: Get every bit of precious dough without waste
- Parchment sheets: Prevent sticking without greasing
- Cookie scoops: Ensure uniform sizing for even baking
- Cooling racks: Allow proper air circulation for ideal texture
Storage, Freezing, and Reheating Made Simple
Preserve freshness and extend enjoyment with these storage strategies:
Storage Guide:
- Room temperature: Store in an airtight container with parchment between layers for 3-4 days; add half a slice of bread to maintain moisture
- Refrigeration: Extend soft cookie freshness to 7-10 days in a sealed container
- Freezing baked cookies: Flash-freeze individually on a tray, then transfer to freezer bags with the air removed; lasts 3 months
- Freezing raw dough: Roll into logs for slice-and-bake convenience or pre-portion into balls on a parchment-lined tray, freeze until solid, then transfer to a container
Revitalizing Cookies: Warm refrigerated or frozen cookies in a 300°F oven for 4-5 minutes for that fresh-baked experience. Microwave for 10-15 seconds with a small glass of water nearby to prevent hardening.
Brilliant Hack: Keep a stash of frozen dough balls ready to bake add 2 minutes to normal baking time and enjoy warm cookies any day of the week!
Creative Variations to Elevate Your Baking
Nut-Free Options
Creating inclusive treats for those with multiple allergies:
- Replace almond flour with sunflower seed flour 1:1 (note: may turn slightly green from natural reaction with baking soda—add 1 tsp lemon juice to prevent)
- Substitute with tiger nut flour for a similar texture (despite its name, not a nut)
- Try a blend of oat flour (60%) and cassava flour (40%) for a neutral-tasting alternative
Vegan Twists
Transform gluten and dairy free chocolate chip cookies into fully plant-based masterpieces:
- Replace each egg with a “flax egg”: 1 Tbsp ground flaxseed + 3 Tbsp warm water, rested for 10 minutes
- Try aquafaba (chickpea liquid): 3 Tbsp whisked until foamy equals one egg
- Boost structure in egg-free recipes with ½ tsp cream of tartar per batch
- Consider reducing sugar by 2 Tbsp when using fruit-based egg replacers
FAQ: Your Top Questions About Gluten and Dairy Free Cookies
Q: What’s the best flour for gluten and dairy free chocolate chip cookies?
A: A high-quality 1:1 gluten-free blend containing rice flour, starches, and xanthan gum produces the most reliable results for beginners. As you gain experience, custom blends with 70% whole grain flour and 30% starches offer more nutritional value and complex flavors.
Q: Can I freeze gluten and dairy free cookie dough?
A: Absolutely! These doughs benefit from freezing, which allows the flours to fully hydrate. Shape dough into logs for slice-and-bake convenience or pre-portion into balls. Frozen dough maintains quality for up to 3 months and can be baked straight from frozen by adding 2-3 minutes to baking time.
Q: Why do my cookies taste gritty?
A: Grittiness typically stems from rice flour particles not fully hydrating or from using coarse-ground alternatives. To solve this, rest your dough in the refrigerator for at least 30 minutes (preferably overnight), use superfine-ground flours, and avoid overmixing which can accentuate the graininess.
Q: How can I make soft cookies that stay that way?
A: The secret lies in three factors: slightly underbaking (cookies should look barely set in center), incorporating 2 Tbsp of inverted sugars like honey or maple syrup in your recipe, and storing with a humidity source like a bread slice or apple wedge (changed daily) in your cookie container.
Q: Are dairy and gluten free sugar cookies good for decorating?
A: They’re excellent for decorating when properly formulated! The key differences: these cookies benefit from freezing before baking to maintain sharp edges, require slightly lower oven temperatures (325°F instead of 350°F), and need a bit more care when handling. For icing, combine powdered sugar with coconut cream and vanilla for a dairy-free royal icing alternative.
Conclusion: Bake with Confidence, Share with Love
Creating exceptional gluten and dairy free cookies isn’t just about following recipes—it’s about understanding the science behind these ingredients and embracing the creativity they inspire. Each successful batch represents more than just delicious treats; they’re tangible symbols of inclusion and care.
Remember that mastery comes with practice. Your first attempts might not be perfect, but with each batch, you’ll develop intuition and skill. The real magic happens when someone tastes your cookies and can’t believe they’re free from gluten and dairy—that moment of surprise and delight makes every experimental batch worthwhile.
We’d love to see your creations and hear your stories! Share your baking adventures with #AllergyFriendlyBakes on social media, and join our community where everyone belongs at the table.
Which recipe will you try first? The classic chocolate chip, the elegant sugar cookies, or perhaps the instant-gratification cookie dough? Whatever your choice, may your kitchen be filled with the irreplaceable aroma of freshly baked cookies and the joy they bring!